Photoshop打造绚丽的潮流舞者(2)
来源:未知
作者:bbs.16xx8.com
学习:945人次
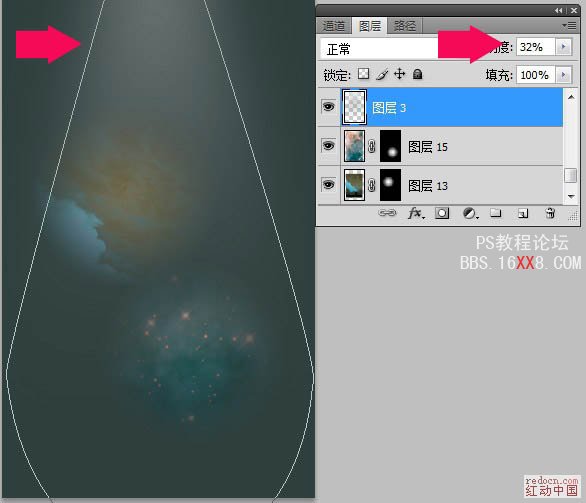
2、用钢笔够了如下路径。并用白色+透明的渐变拉从上到下拉出渐变,然后执行滤镜——高斯模糊。同时给他合适的不透明度,参数和效果如图。
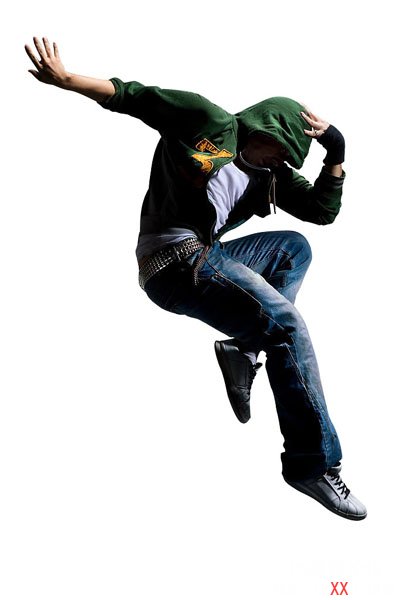
3、打开人物素材,然后抠图。用曲线调整图层给他点亮度和对比度。
<点小图查看大图>
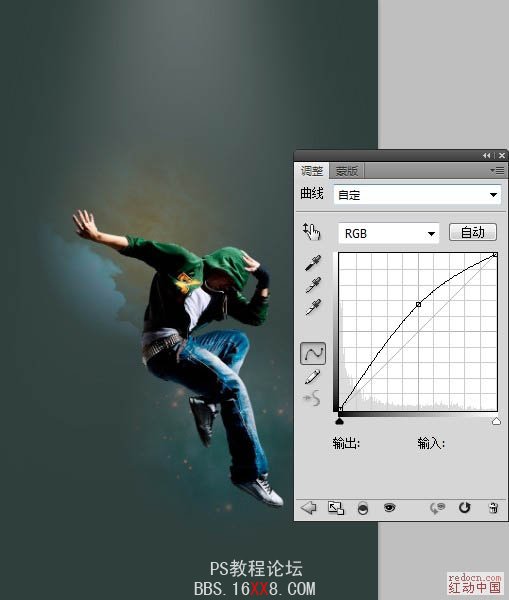
3、打开人物素材,然后抠图。用曲线调整图层给他点亮度和对比度。
<点小图查看大图>
学习 · 提示
相关教程
关注大神微博加入>>


网友求助,请回答!