Photoshop图片教程:漂亮的花纹边框
来源:未知
作者:bbs.16xx8.com
学习:9515人次
作者:佚名 出处:中国教程网
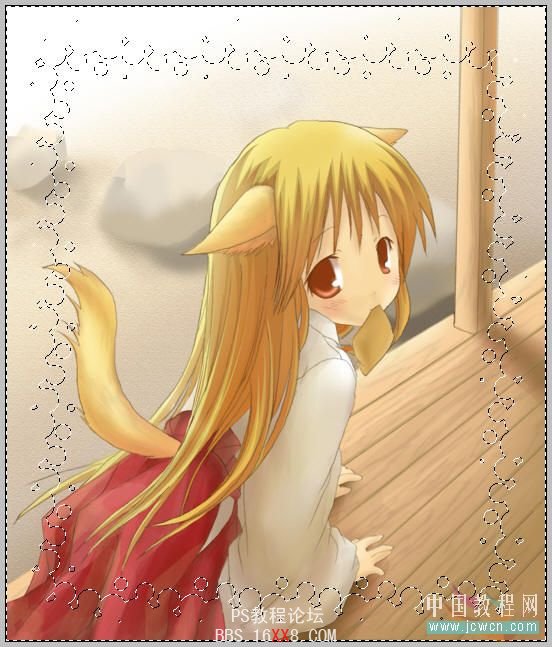
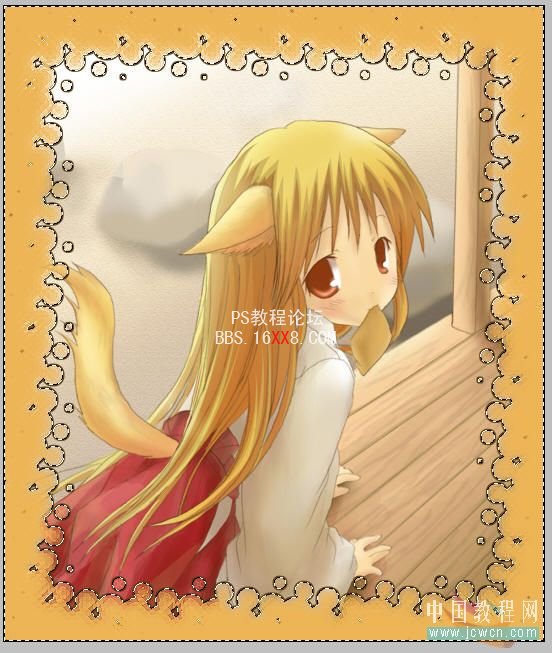
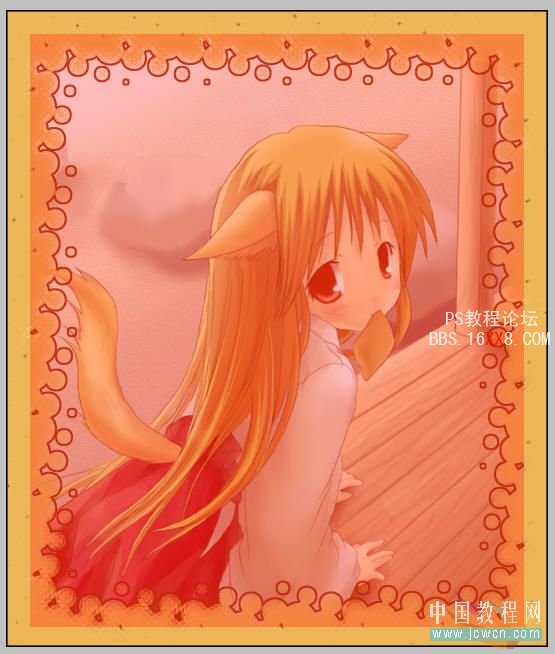
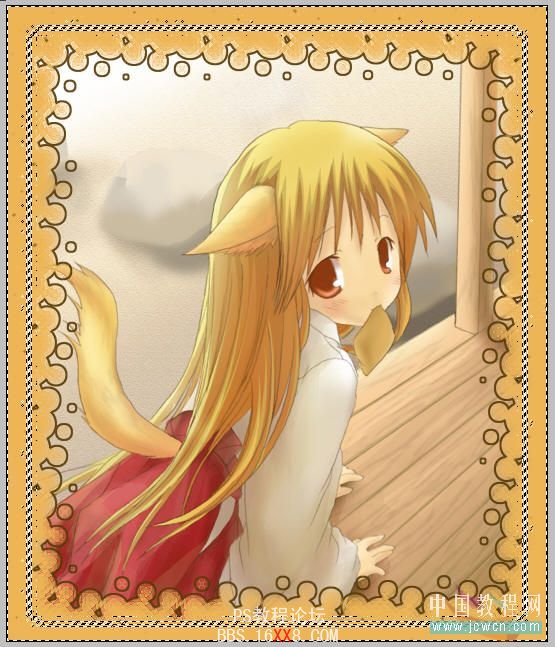
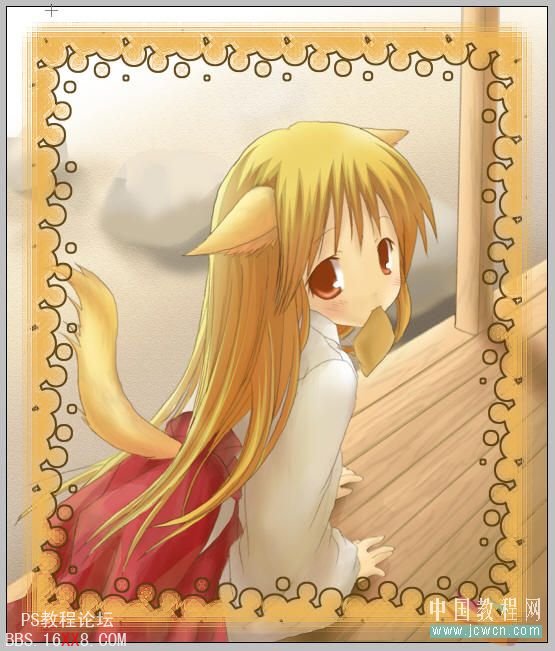
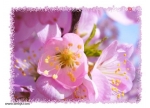
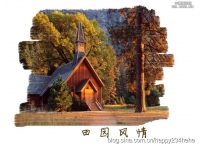
最终效果:

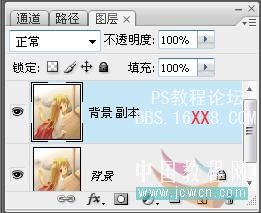
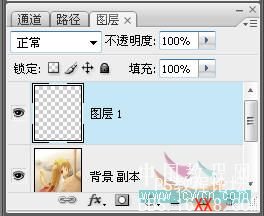
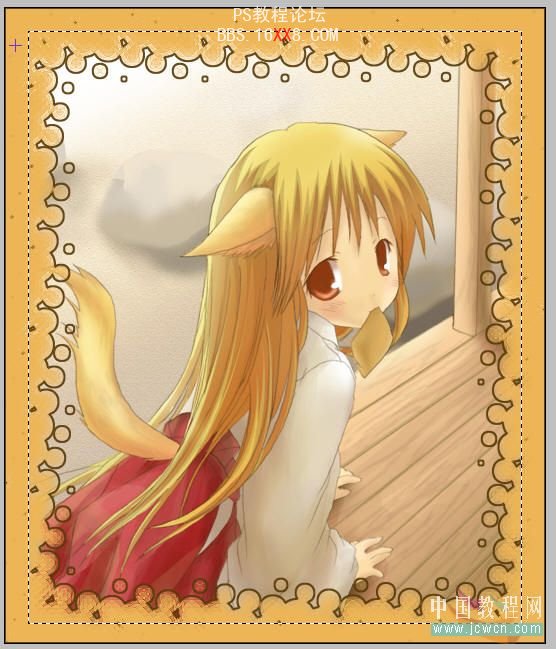
一、打造素材图,ctrl+j,新建背景副本
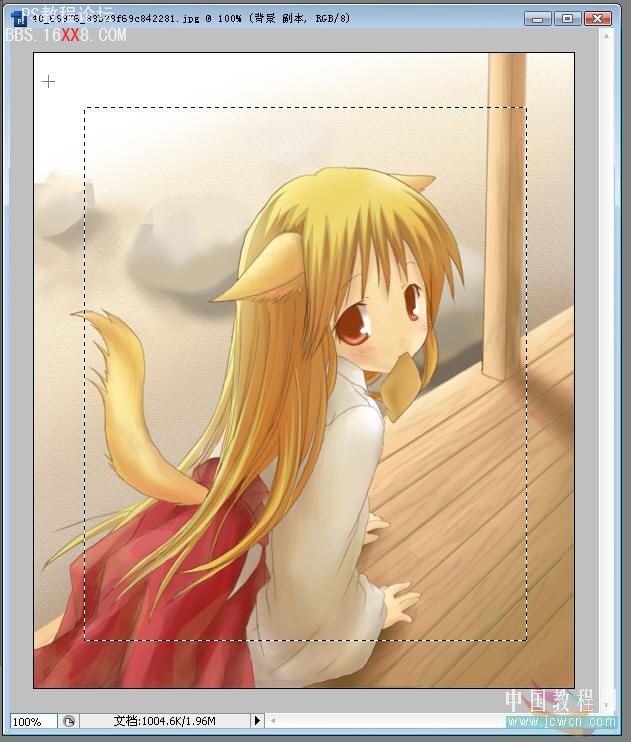
二、用矩形选取工具选取一块区域
三、英文输入状态下,按q键切换到快速蒙版
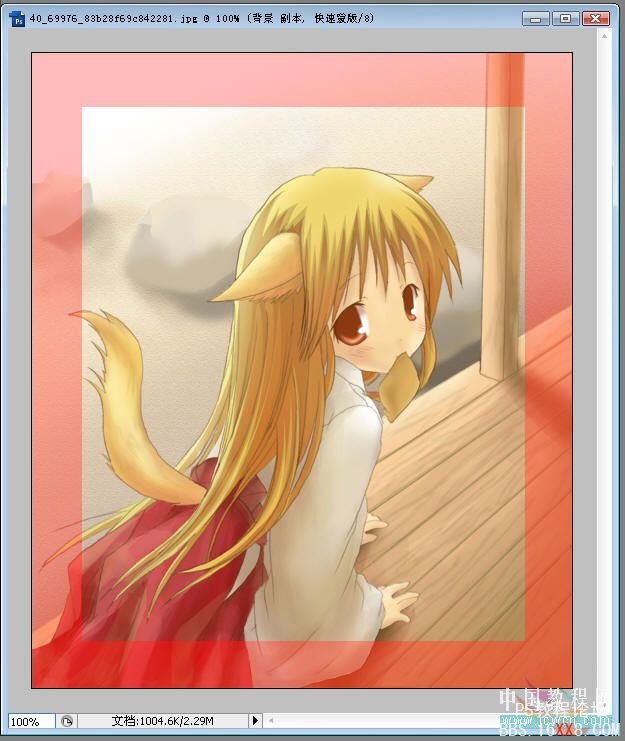
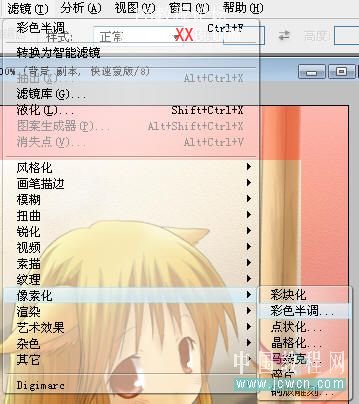
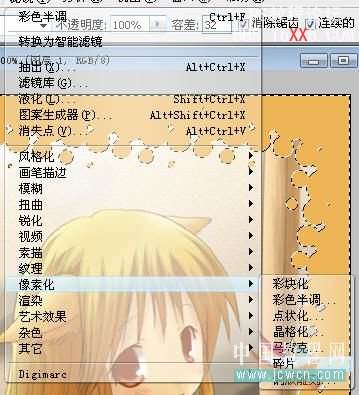
四、用色彩半调滤镜效果
五、参数如图设置,确定

六、再次按q退出快速蒙版,并用ctrl+shift+i反选
七、新建图层
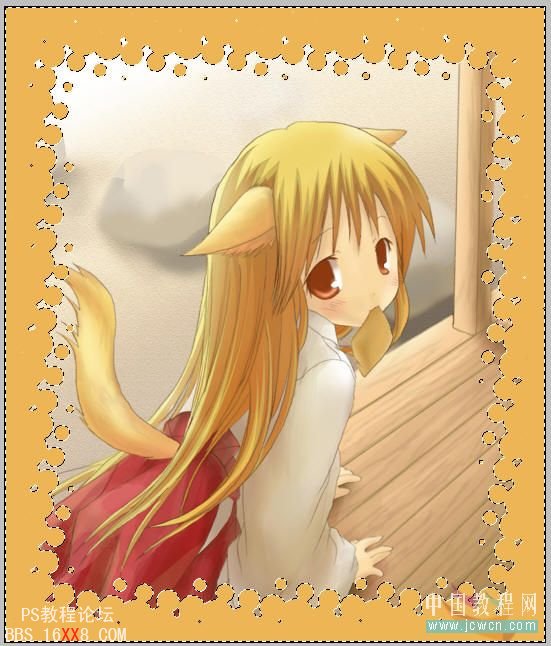
八、选用油漆桶工具,在选区内填充颜色
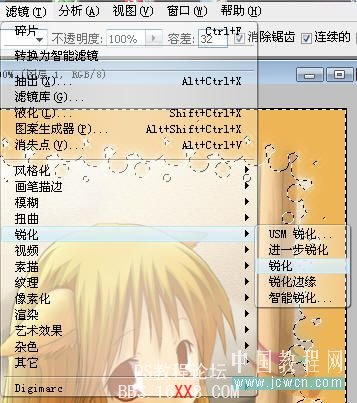
九、碎片滤镜效果使用2~3次
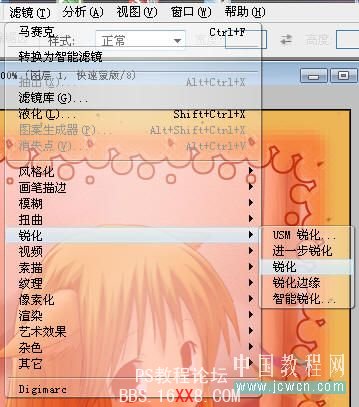
十、锐化使用1~2次
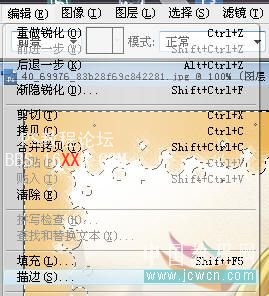
十一、菜单栏的“编辑”->描边
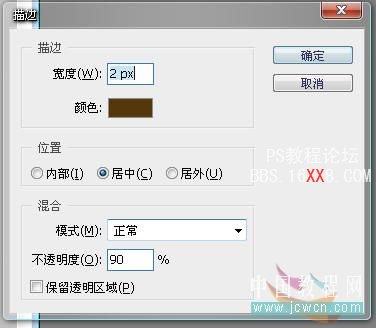
十二、如图设置
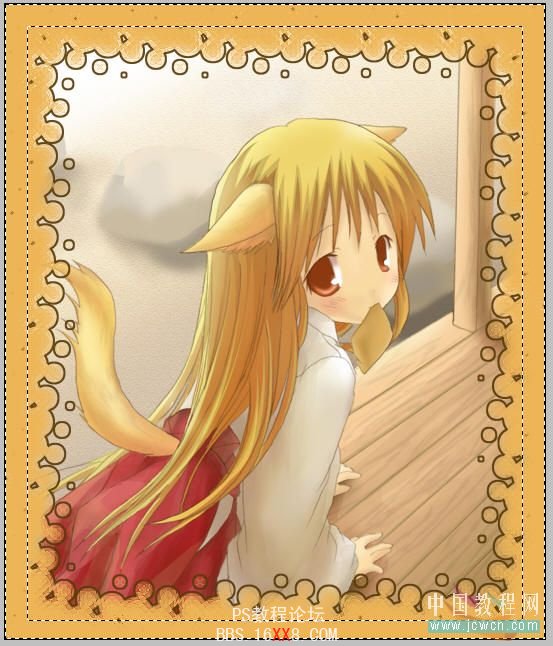
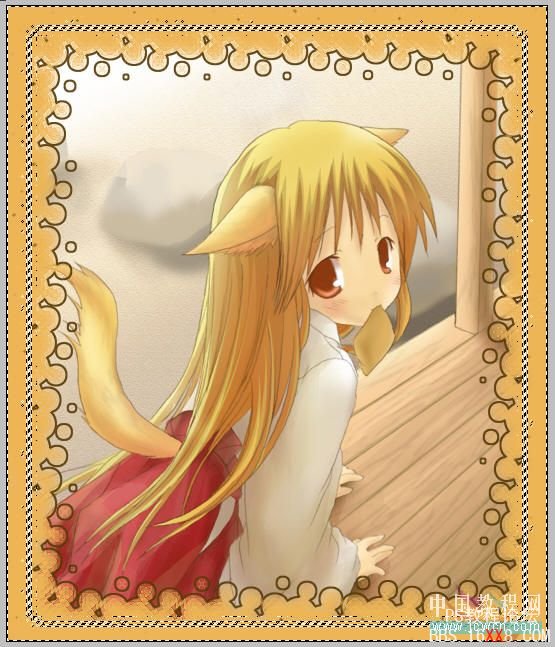
十三、效果如图
十四、ctrl+d取消选框,选取另一个矩形区
十五、反选
十六、按q进入快速蒙版模式
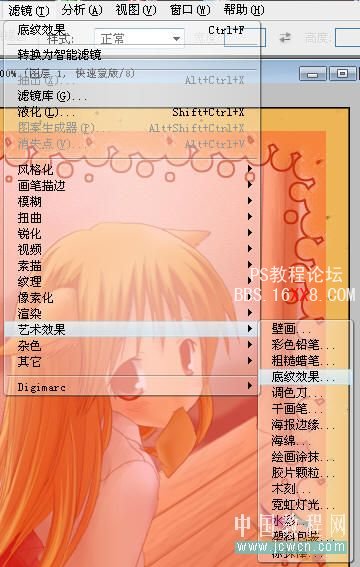
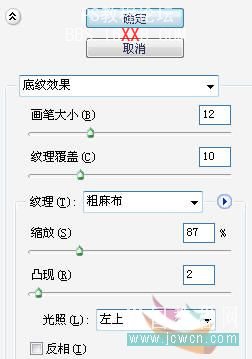
十七、底纹效果 滤镜
十八、参数设置如图
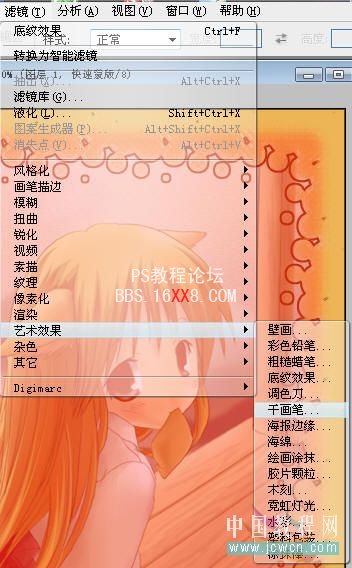
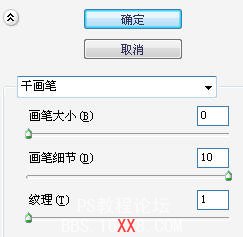
十九、干画笔滤镜
二十、参数设置如图
二十一、马赛克滤镜

二十二、参数设置如图
二十三、锐化2~3次
二十四、退出快速蒙版
二十五、按delete删除选区内的颜色
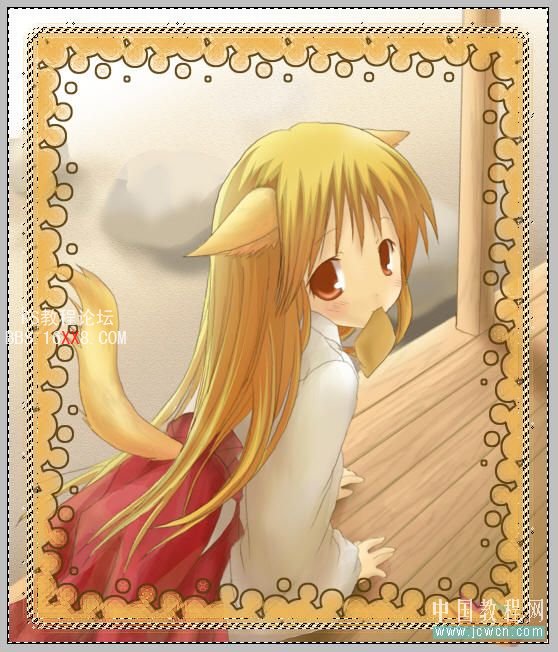
二十六、ctrl+D取消选择,完成
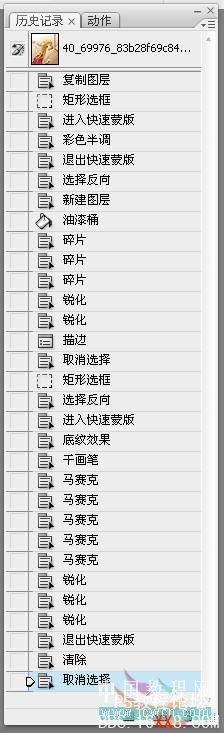
二十七、这是历史流程,可供参考
学习 · 提示
相关教程
关注大神微博加入>>


网友求助,请回答!