ps合成水城美丽女孩倩影教程(3)
来源:enet
作者:佚名
学习:5797人次
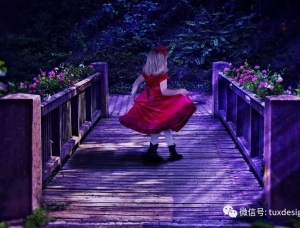
13、打开一幅人物图片,将人物拖动到画面中。为人物图层添加图层蒙板,选择工具箱中的“渐变工具”,渐变色由黑色到白色,在画面中由上到下拖动鼠标,画面效果如图16所示。
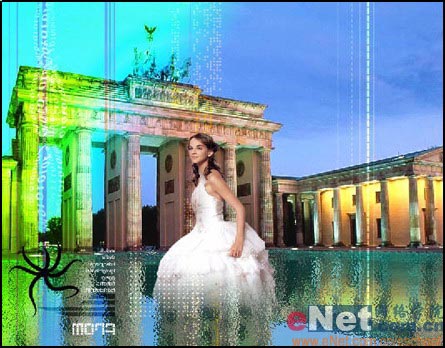 图16
图16 14、按上面的步骤,为人物制作倒影。选择“套索工具”为人物添加如图17所示的选区,然后选择“滤镜”“模糊”“动感模糊”为人物添加动感效果,如图18所示。
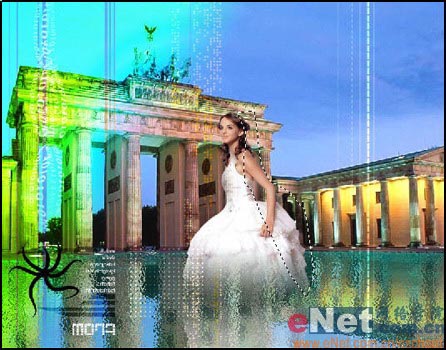 图17
图17 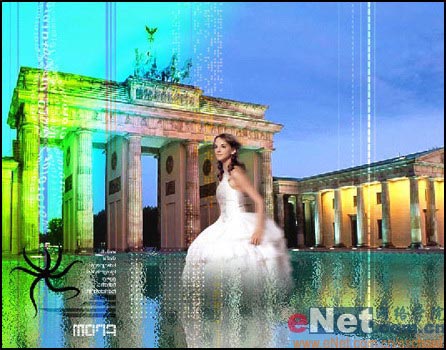 图18
图18 15、按Ctrl键单击人物图层,添加选区,按“Ctrl+Shift+I”反选选区。选中背景图层,选择菜单栏中的“滤镜”“模糊”“镜头模糊”,将背景层稍微模糊一下,突出人物。画面的最终效果如图19所示。
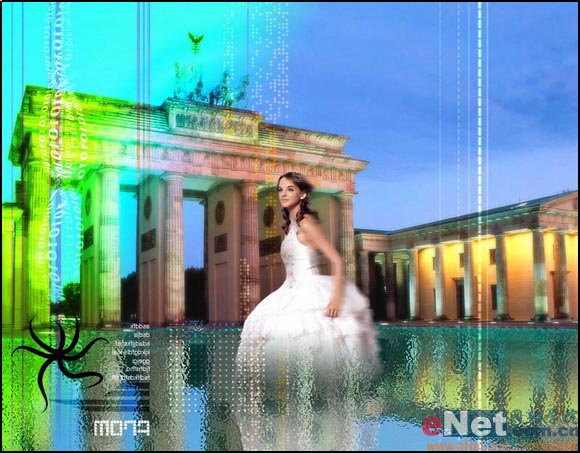 图19
图19
学习 · 提示
相关教程
关注大神微博加入>>


网友求助,请回答!