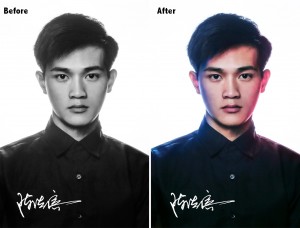
PS为黑白照片上色(2)
来源:网络
作者:xiao5217
学习:13521人次
在皮肤的图层上把眼睛擦出来,然后按住CTRL点这个图层.再放开CTRL,点黑白照的图层
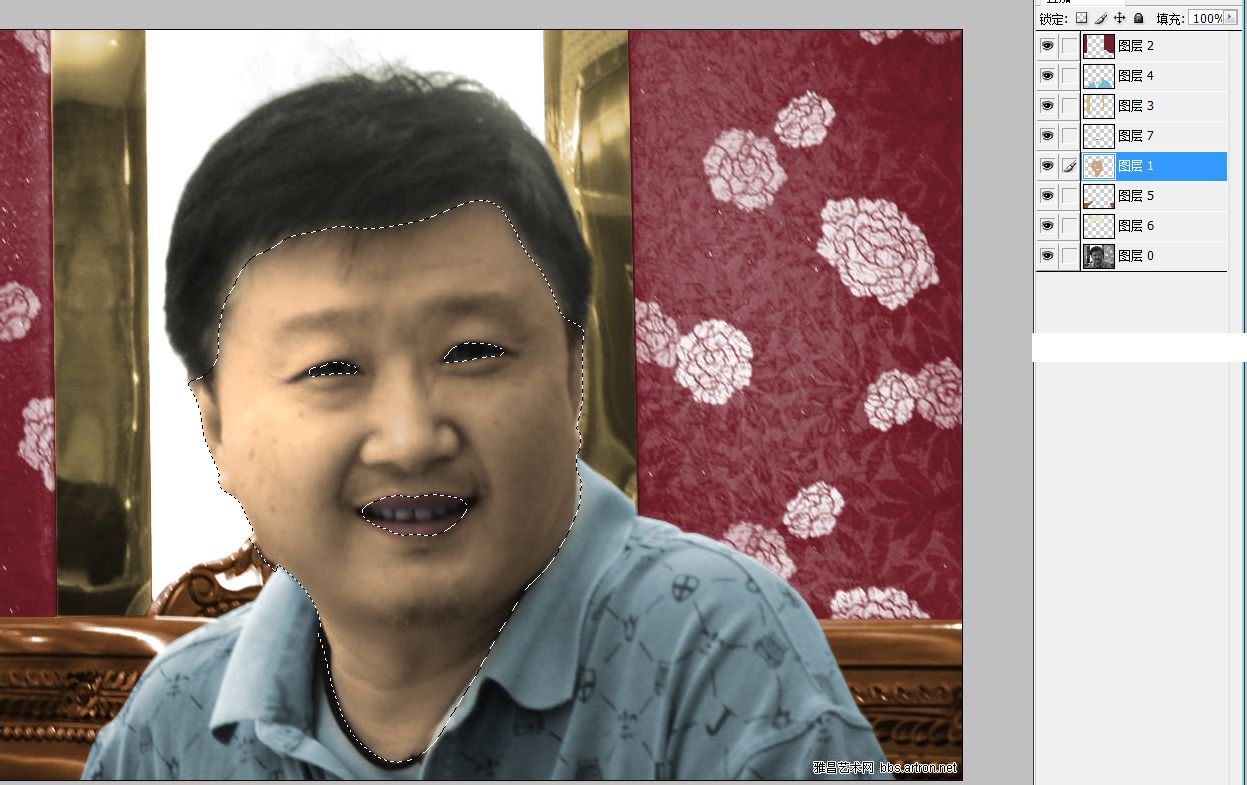
按下ctrl+j复制一层,移动该层到最上方,选择叠加,不透明度改为40%
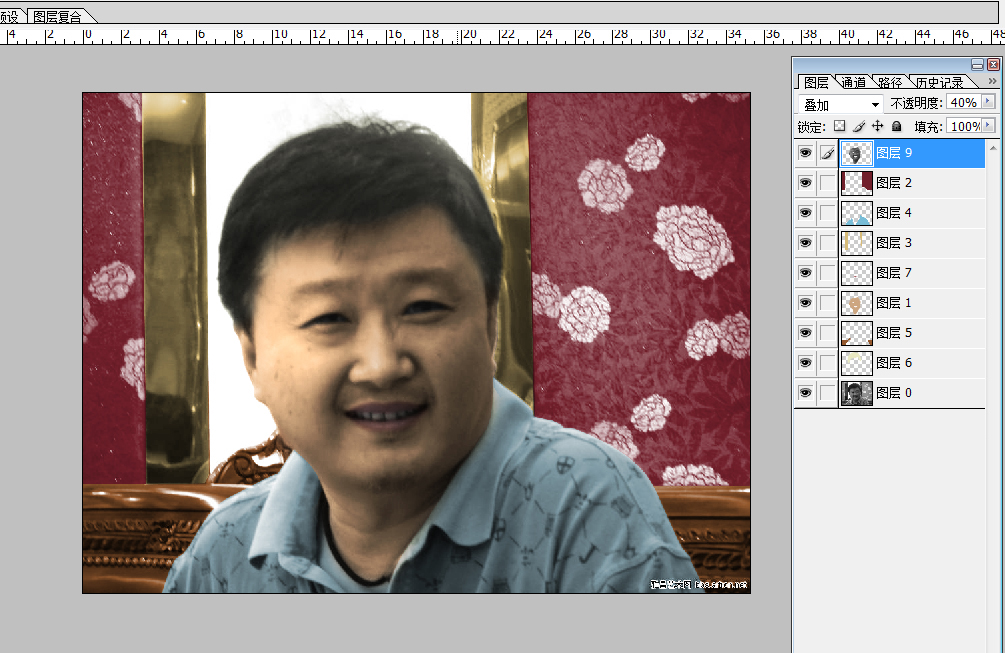
右键标题栏,点复制,在对话框勾上复制拼合的图层,把图按住SHIFT拖进我们的图里

滤镜----模糊-----高斯模糊,15像素..图层选柔光,不透明度改40%,调整饱和度(如图)
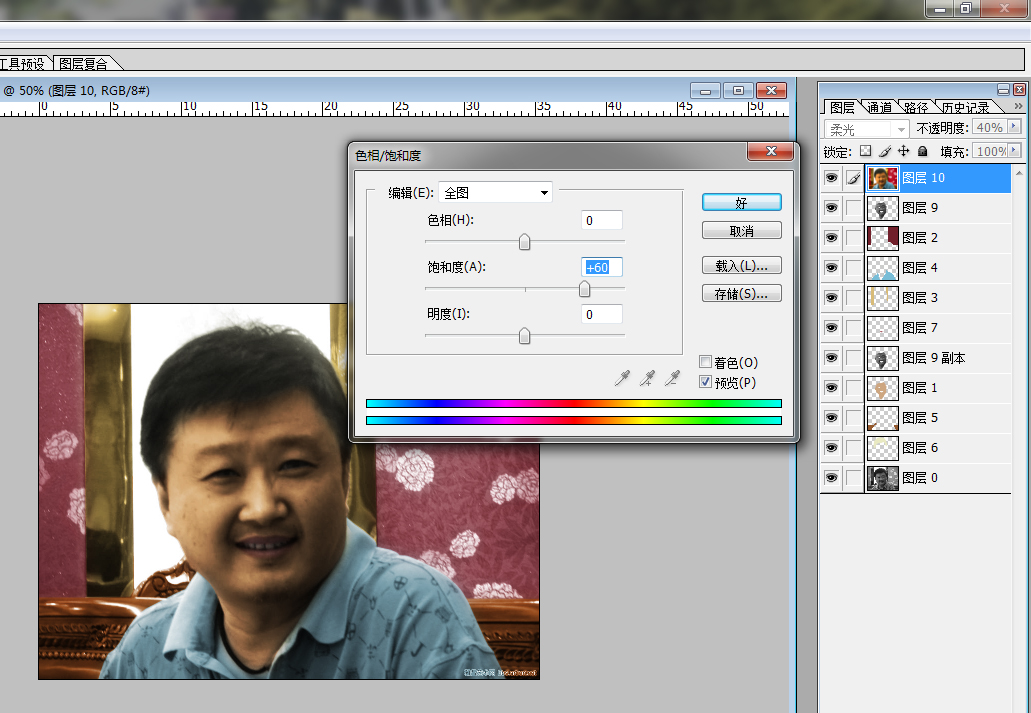
基本上已经可以了,现在要凭你自己的感觉来继续调整,(小窍门:减淡工具选高光,不透明度30,在脸部高光部分刷几下)对整体再做一下细微的调整.就像你自己拍的照片调照片一样,我想玩PS的多少都会调几下吧?

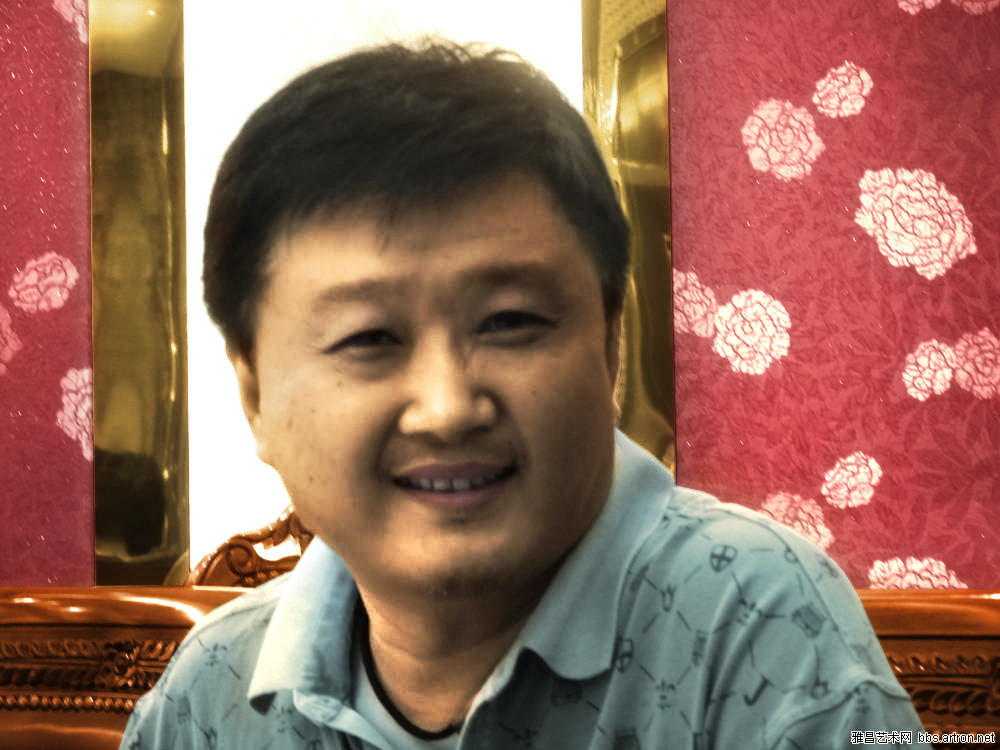
最终效果!
学习 · 提示
相关教程
关注大神微博加入>>


网友求助,请回答!