ps制作黑白点阵字体文字特效教程(3)
来源:网络
作者:qp3db
学习:27802人次
根据自己的需要改变阈值(推荐100)
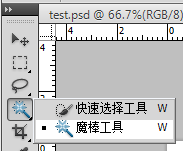
选择魔棒工具(快捷键W)
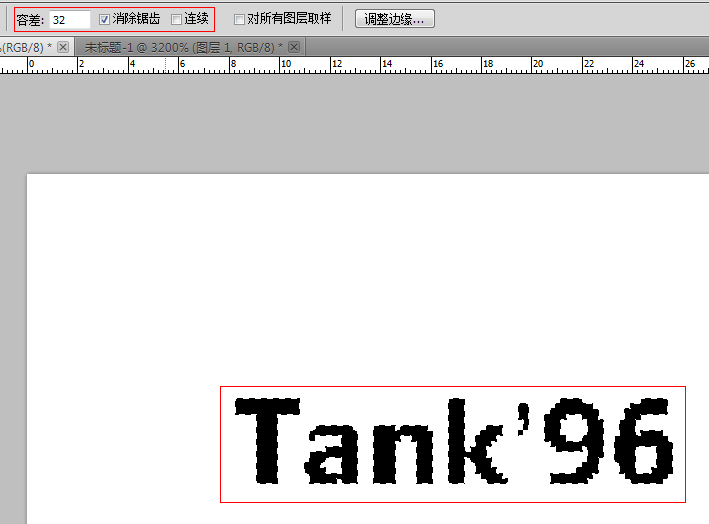
调整魔棒选择区域及范围,选中黑色的文本。
新建空白图层。
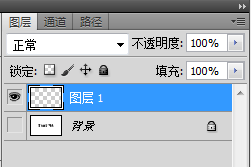
所看到的图层面板效果。
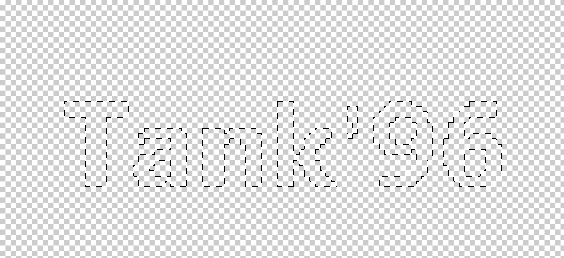
所看见的载入选区的效果。
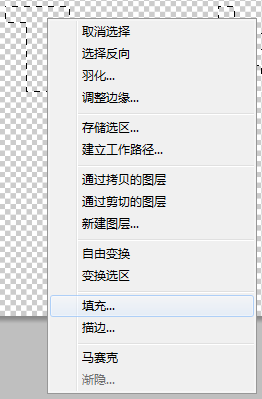
针对刚才所见的图层进行填充。
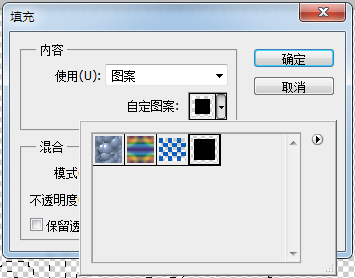
填充刚才在F画布中所创建的填充图形。
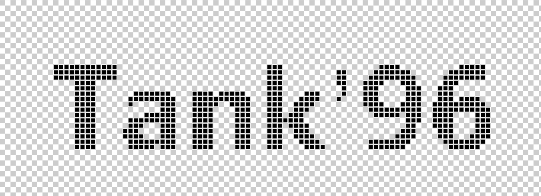
得到的效果。

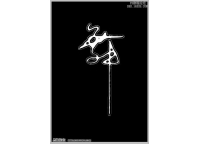
最终根据自己的需要,添加背景或其他渲染素材。
学习 · 提示
相关教程
关注大神微博加入>>


网友求助,请回答!