PS精灵女孩合成教程(6)
来源:罗涛数码
作者:佚名
学习:3979人次
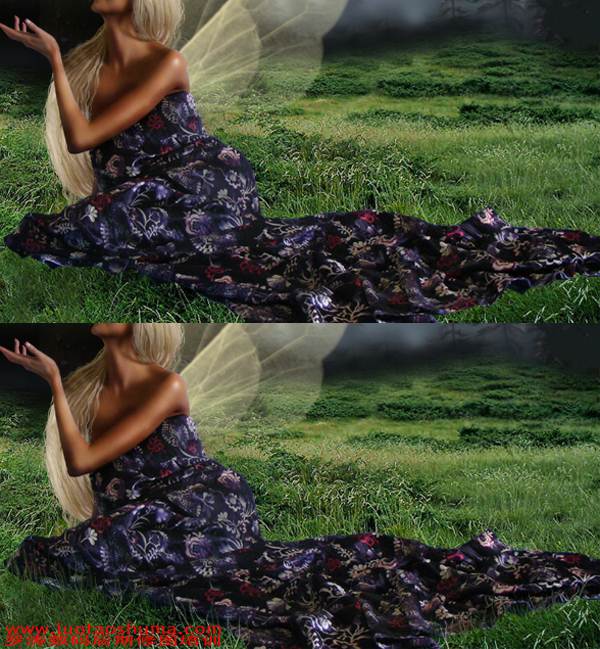
步骤20
接下来您需要使用涂抹工具,将衣服和草地的融合通过涂抹更自然些,添加一些草在衣服边缘处,让他们的接触处看起来更自然。
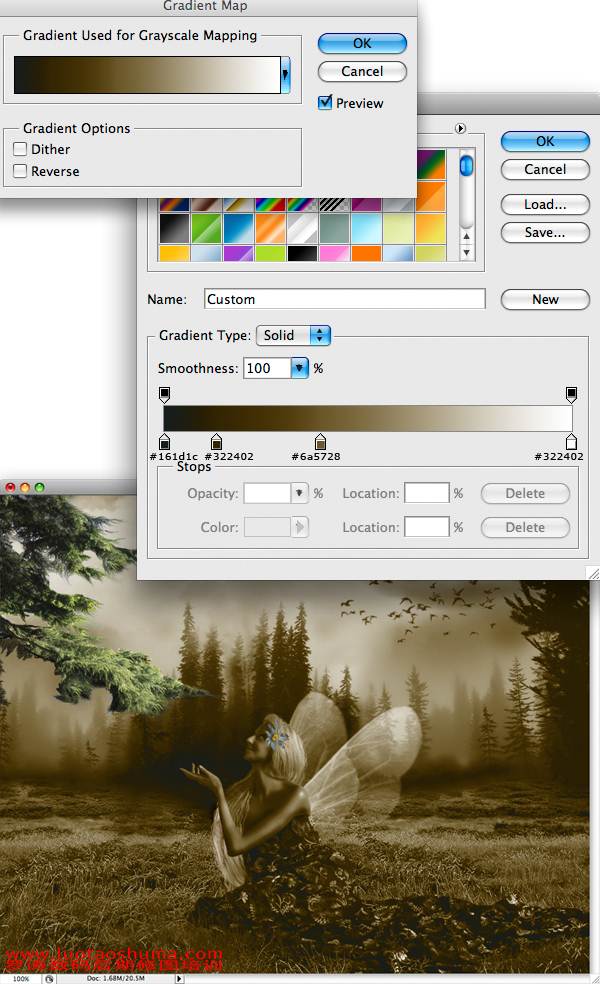
第21步
现在您需要更改色调,添加一个渐变映射 调整图层,设置如图所示。
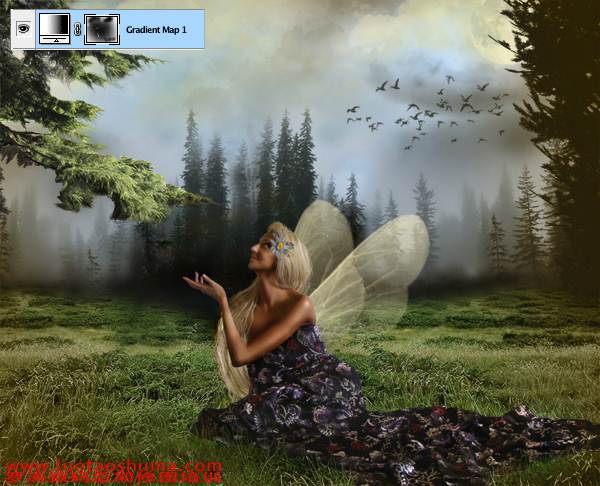
步骤22
现在,设置不透明度为60%。 选择图层蒙版,使用一个柔边的画笔硬度设置为0,设置画笔的不透明度为40%,设置前景色为黑色,通过涂抹还原所有的草。 效果如图所示。
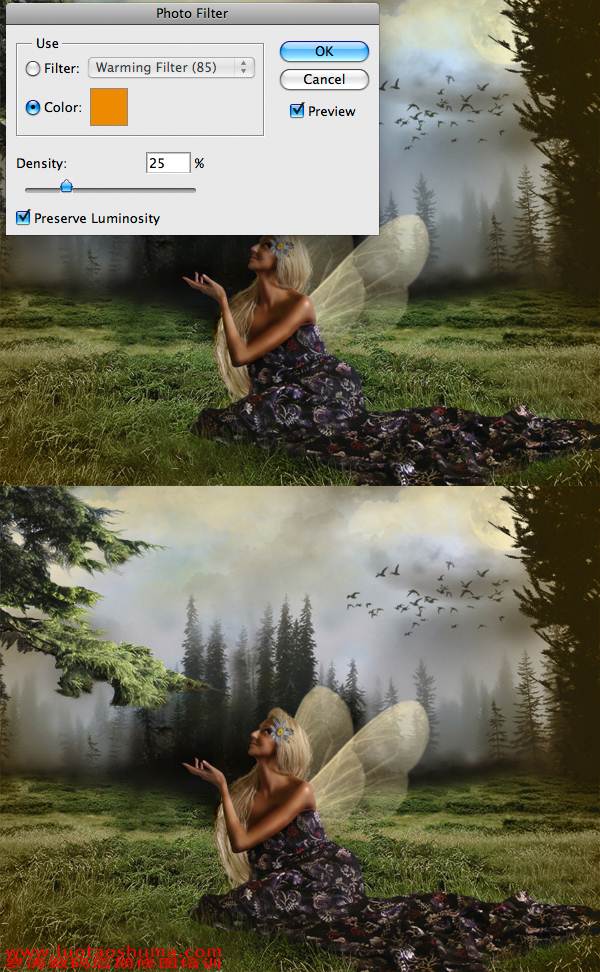
23步
添加 照片滤镜 调整图层,颜色选择# ec8a00浓度为25%,效果如图所示
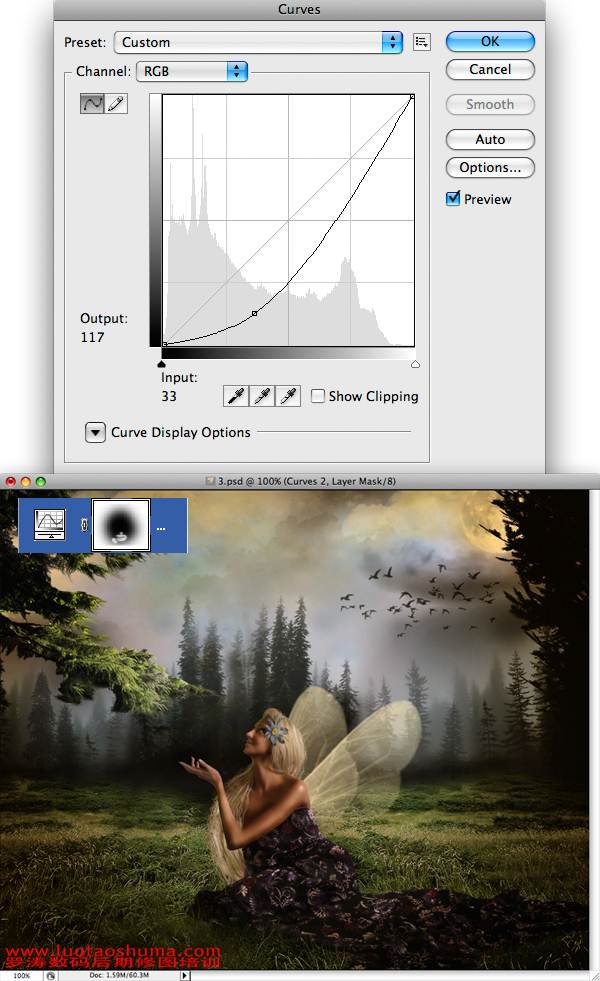
步骤24
添加一个曲线,调整层,如图所示设置,使用渐变工具配合画笔工具在蒙版上涂抹,这是为了压暗四周。
学习 · 提示
相关教程
关注大神微博加入>>


网友求助,请回答!