ps写字动画教程
来源:网络
作者:jyl真实谎言
学习:16736人次
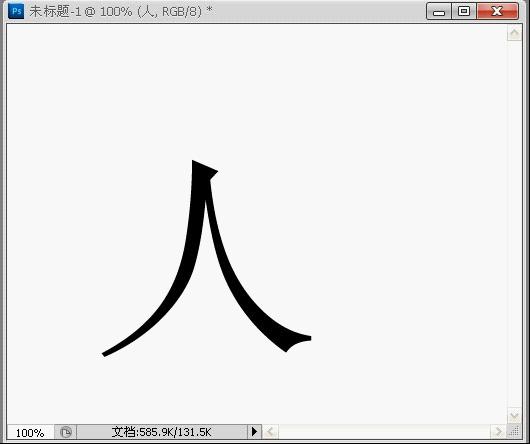
效果图:


其实此教程如果熟悉蒙版工具的同学,用蒙版来做,我想会轻松好多!
为了照顾跟我一样菜的菜鸟们,此教程就用比较简单的傻瓜式方法吧!!
1、ctrl+N新建图层打上你喜欢的字
下面以“人”字为例。
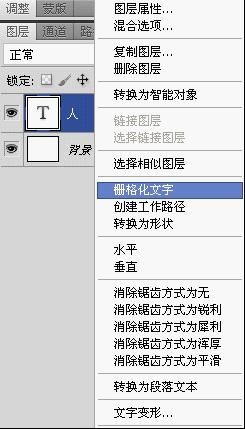
2、在文字图层处击右键“删格化文字”
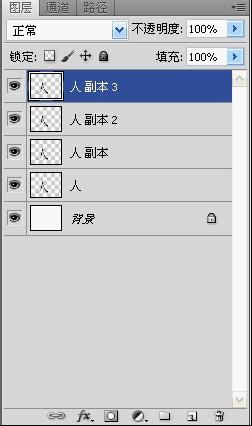
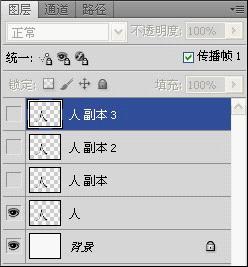
3、ctrl+J复制3层
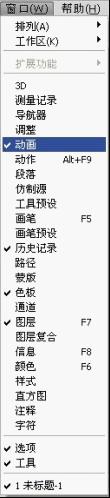
4、点击“窗口”———“动画”调出动画栏。
5、来到图层处把副本以上的“眼睛”关闭。
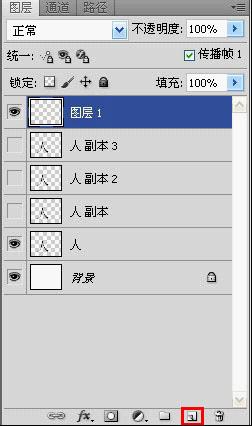
6、来到“图层”处点击红色框框新建一个图层
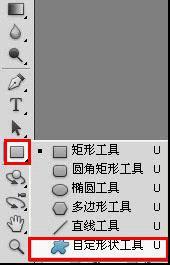
7、选择“自定形状工具”
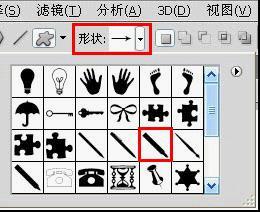
8、选择一支笔
学习 · 提示
相关教程
关注大神微博加入>>


网友求助,请回答!