ps云彩透射文字效果(2)
来源: it世界网
作者:河马 翻译
学习:7059人次
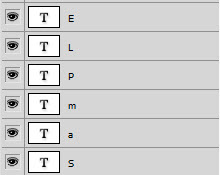
4、使用文字工具输入文字,注意每个字母一个图层,如图所示
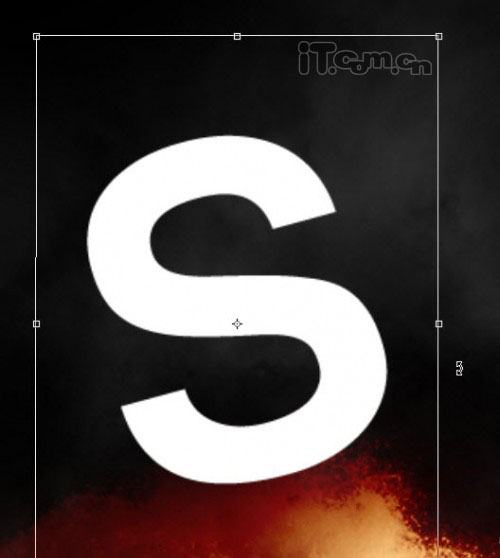
5、使用自由变换工具调整字母的角度、大小和位置,如图所示
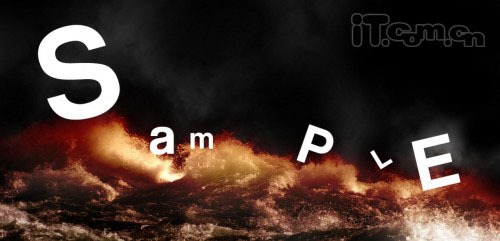
旋转所有字母后的效果:
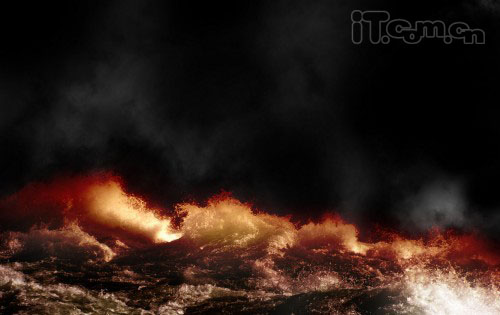
6、在所有字母图层的下在创建一个新图层,并在图层中添加一些云彩效果。
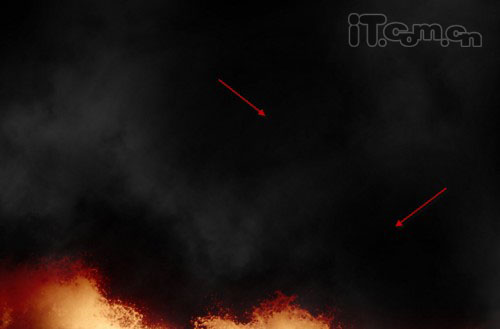
7、使用较大的柔角橡皮擦工具擦除一部分云彩,创造更深层的效果,如图所示
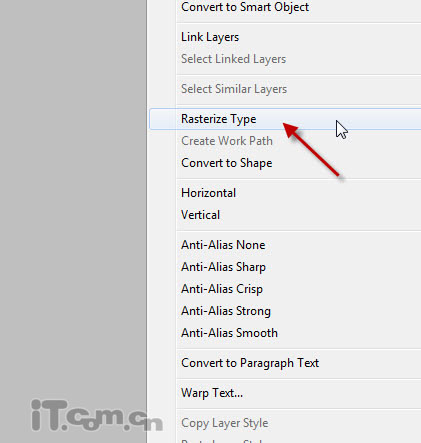
8、选择所有字母图层,然后单击右键,选择”栅格化文字“,如图所示。
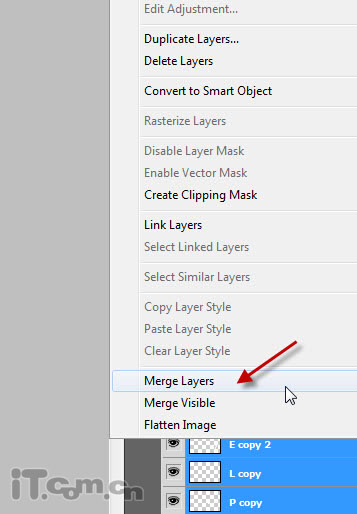
9、栅格化后,再单击右键,选择合并图层,如图所示。
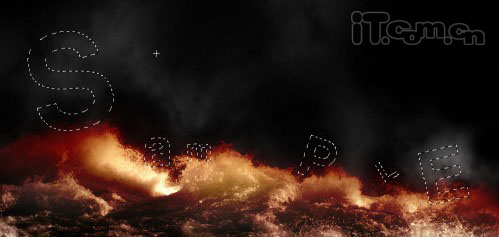
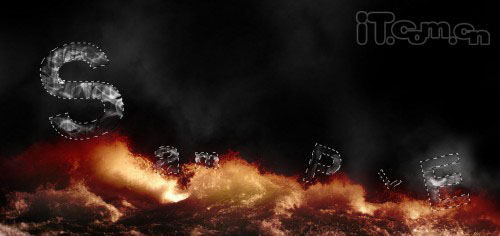
10、按着Ctrl键,单击文字图层的缩略图层,载入其选区,如图所示
11、使用烟雾笔刷涂抹选区,如图所示。
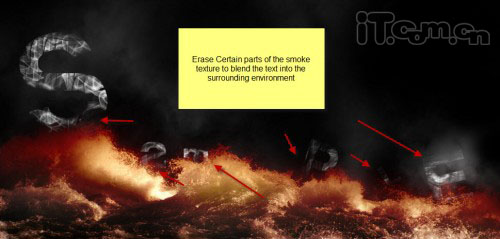
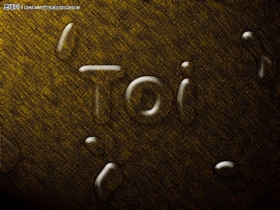
12、使用柔角的橡皮擦工具擦除文字的某些部位,使用它们看起好像被海水遮挡着,如图所示。
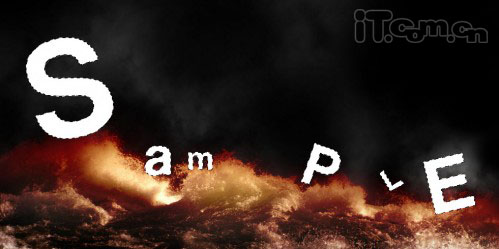
13、这一步可选择。为了使文字变暗些,你可以复制一层,然后调整混合模式为”颜色加深“,如图所示。

14、合并原有的文字图层,然后创建一个新图层,载入文字的选区,然后在新图层的选区中填充白色,如图所示。
学习 · 提示
相关教程
关注大神微博加入>>


网友求助,请回答!