PS合成夜空下的鹅教程(2)
来源:网络
作者:设计聚合网
学习:4669人次
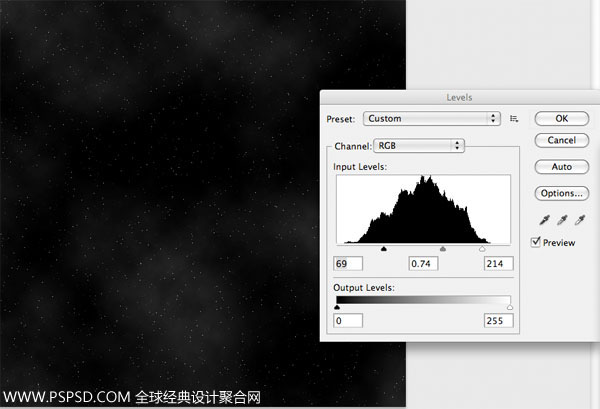
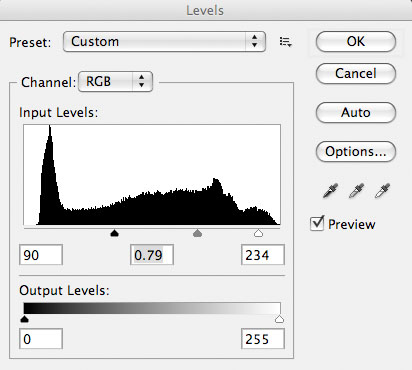
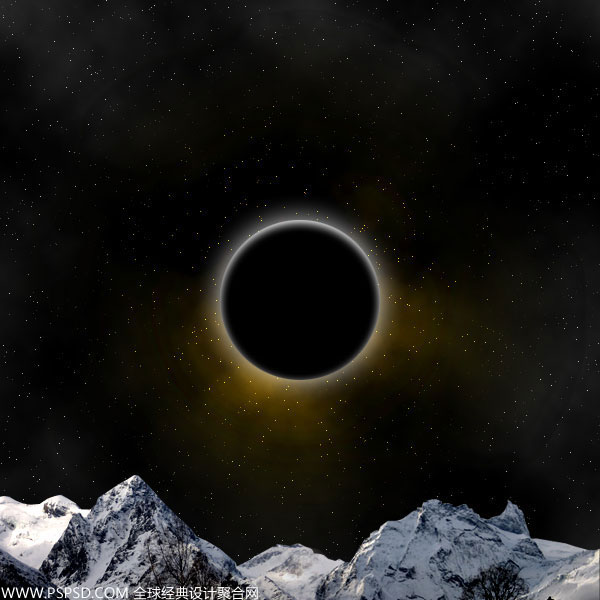
在,你继续写选定层,还是打开色阶面板Ctrl+L,来设置云层的效果
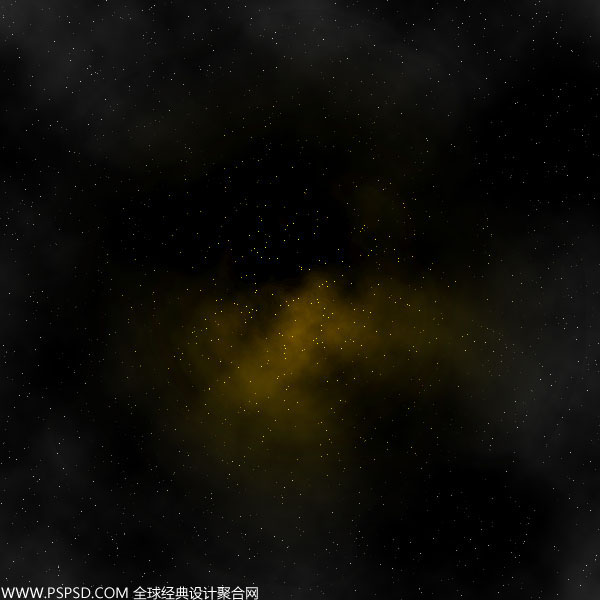
创建一个新层叫做’渐变’。从画布中心到四周的渐变,颜色从黄色#ffe400到透明。
然后改变该层的混合模式,适用“叠加”。 然后复制该层两次。

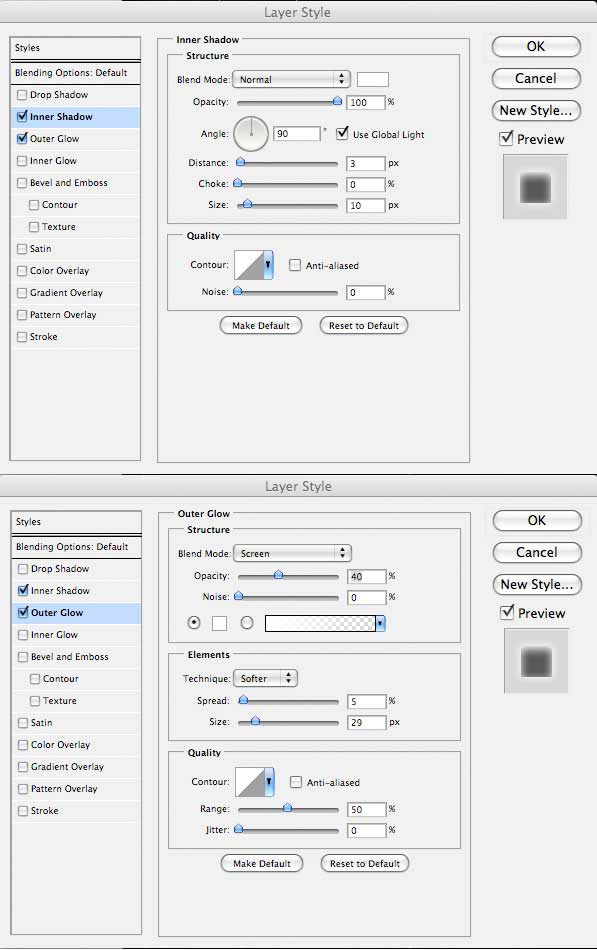
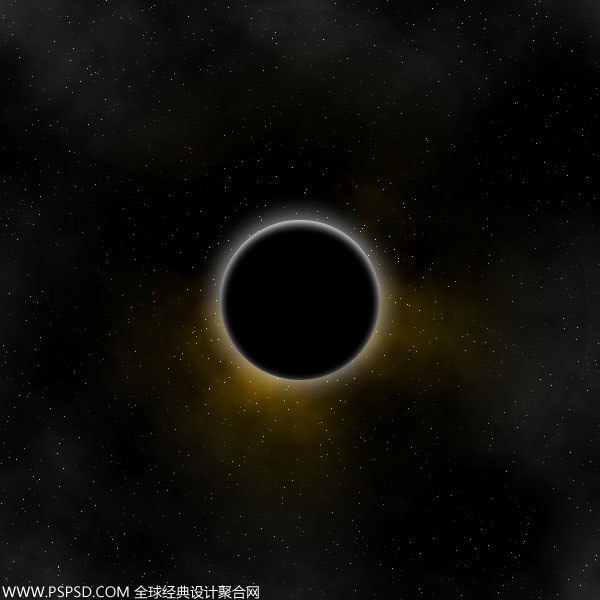
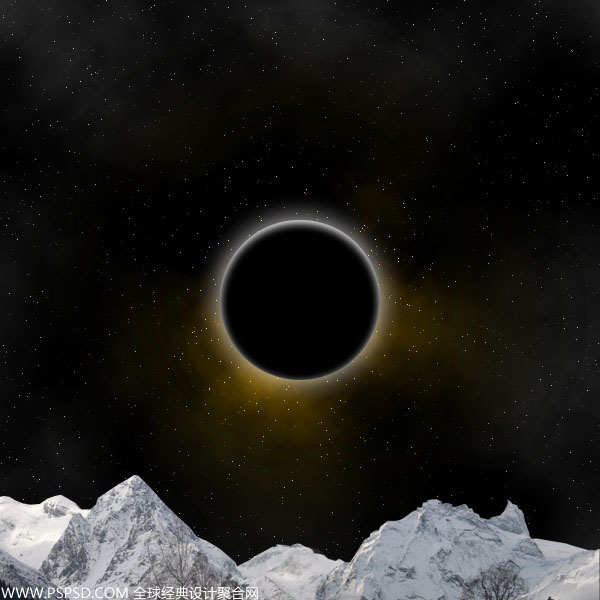
创建一个新层叫做“圆”。现在创建在你的画布中心创建一个圆形,并填充黑色。然后设置一个内阴影,外发光效果(以下设置):
下载山脉: 山脉 。
打开文件,把山扣出来,然后放到画布下方。

下载第二个山脉照片: http://www.sxc.hu/photo/1280637 。
修整下第二山,让他能和第一个山融合。
把2座山合并,命名为“山”图层。现在调整设置的两个山脉照片:
学习 · 提示
相关教程
关注大神微博加入>>


网友求助,请回答!