ps设计出质感Logo标志教程(4)
来源:收集
作者:佚名
学习:9555人次
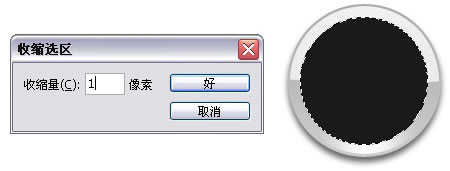
9、按Ctrl单击图层4,依次点击菜单中的选择——修改——收缩,设收缩量为1。
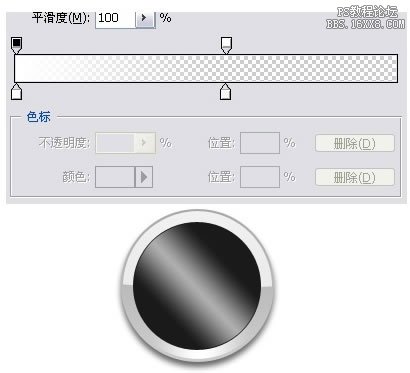
10、新建图层5,使用渐变工具,选择对称渐变,做出如下效果:
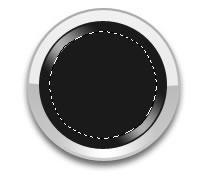
11、设图层透明度为55,载入图层5的选区,将选区范围收缩9PX,按Del删除,效果如图:
10、新建图层5,使用渐变工具,选择对称渐变,做出如下效果:
11、设图层透明度为55,载入图层5的选区,将选区范围收缩9PX,按Del删除,效果如图:
学习 · 提示
相关教程
关注大神微博加入>>


网友求助,请回答!