马上注册,结交更多好友,享用更多功能,让你轻松玩转社区。
您需要 登录 才可以下载或查看,没有账号?注册

x
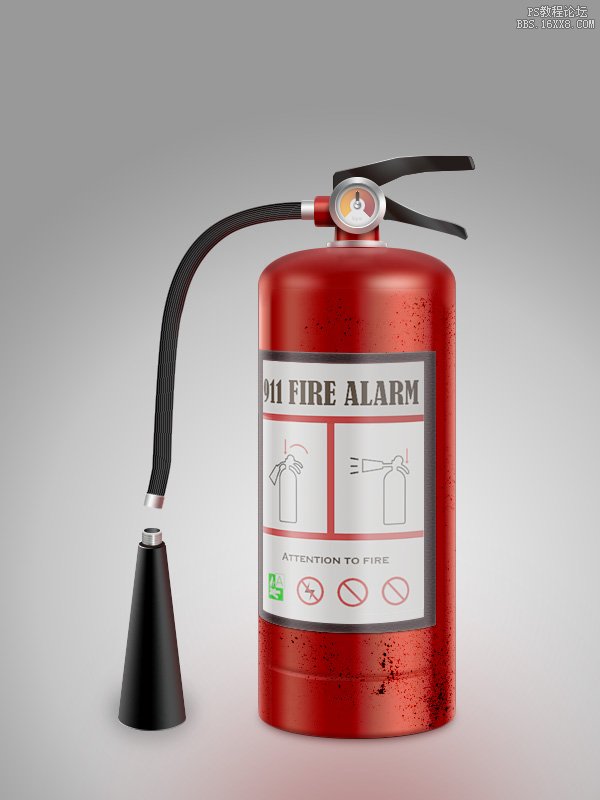
教程只介绍了灭火器的制作过程,很多细节的制作没有详细说明,不过每一个构件都是图示参考,制作的时多参考图示,然后按一定顺序慢慢刻画。
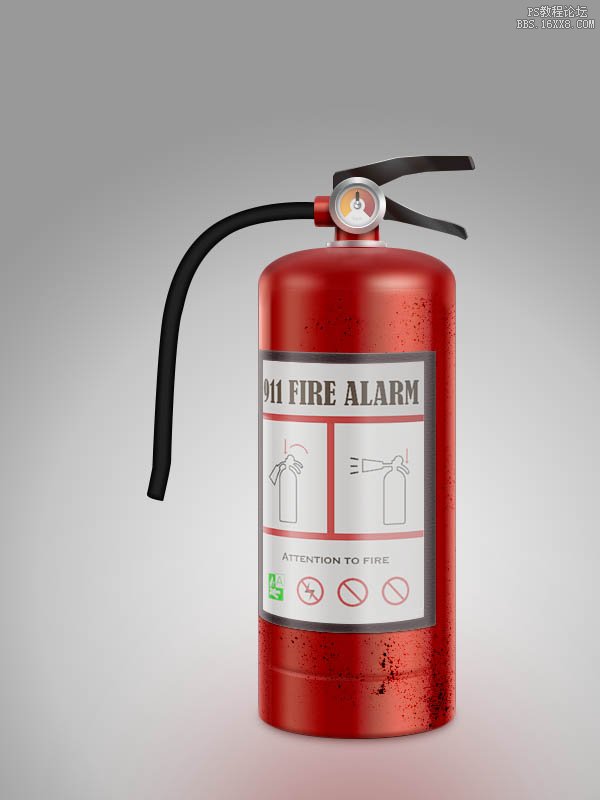
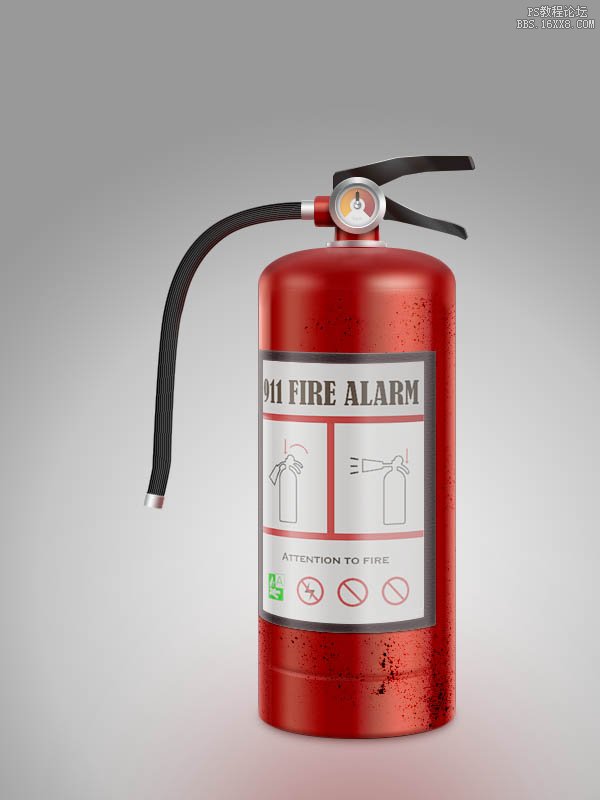
最终效果
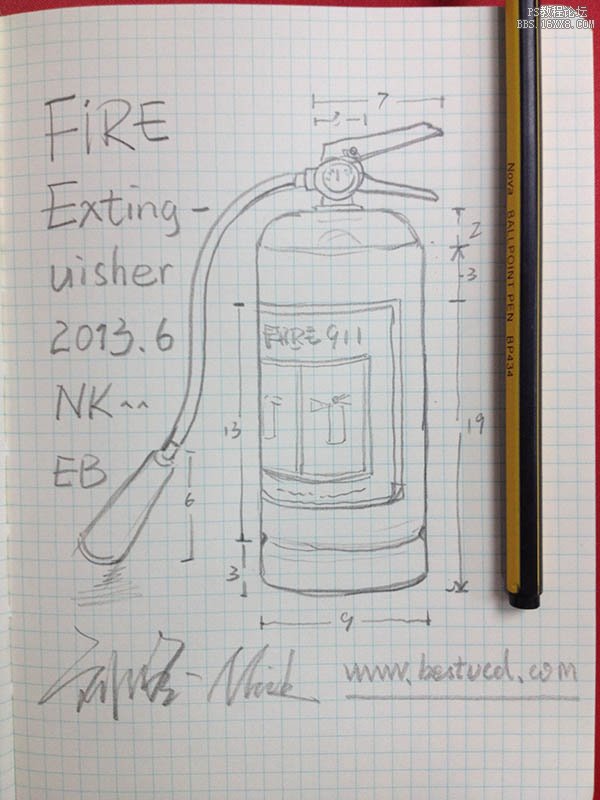
1、当然是草稿了。
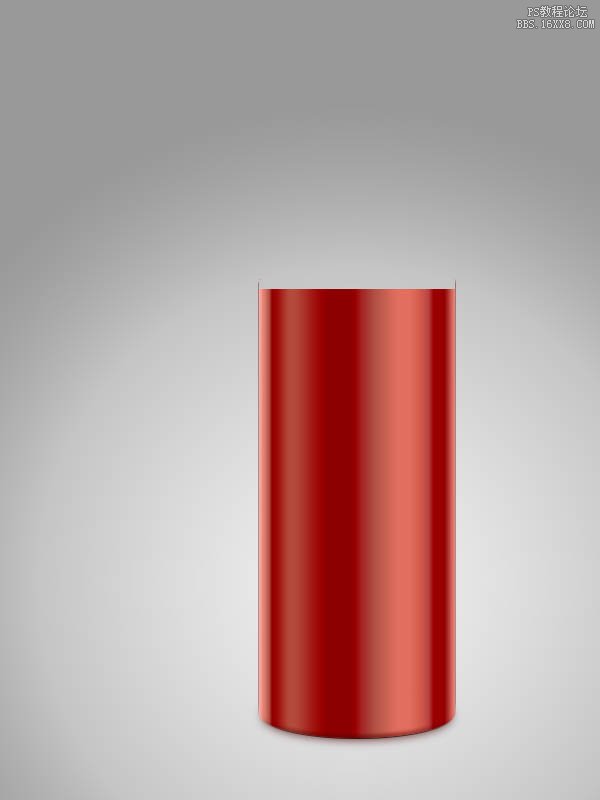
2、打开PS,新建大小适当的文档,首先建立个打光的背景。

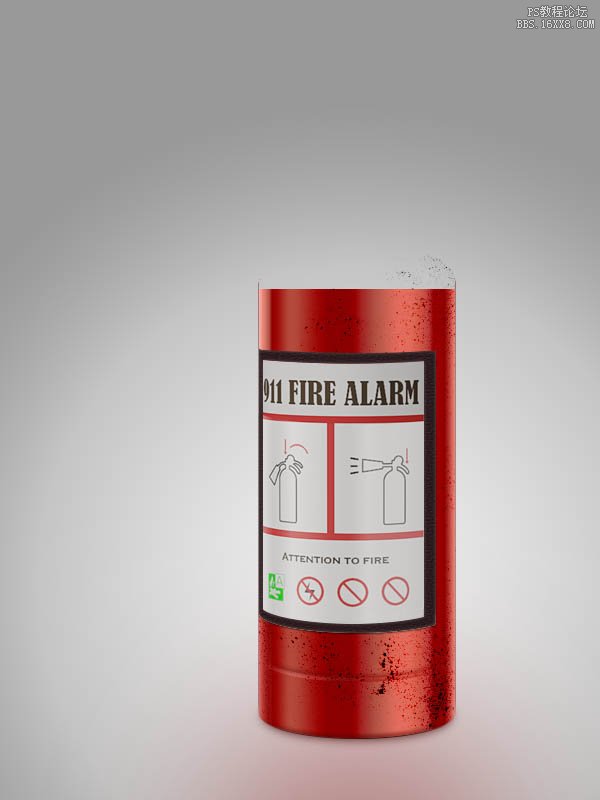
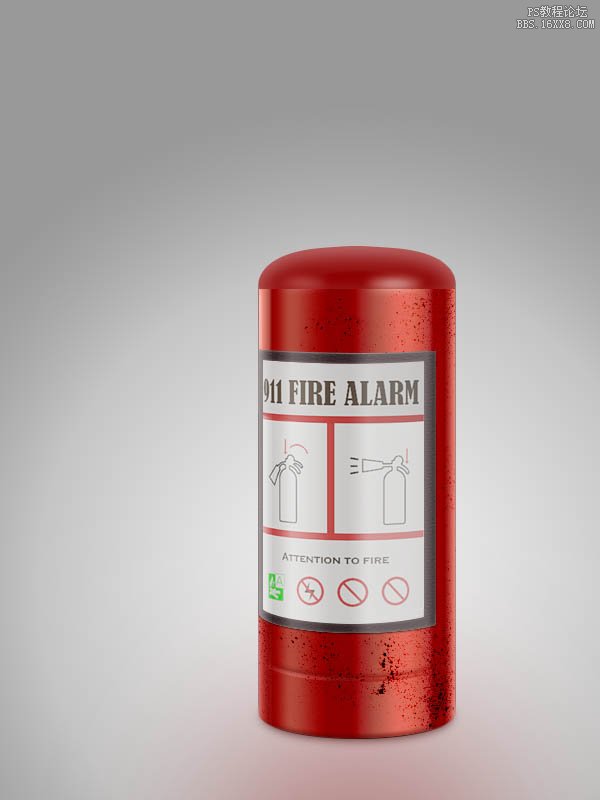
3、利用渐变工具等,做出瓶体,注意底部的细节要勾画得更自然些。
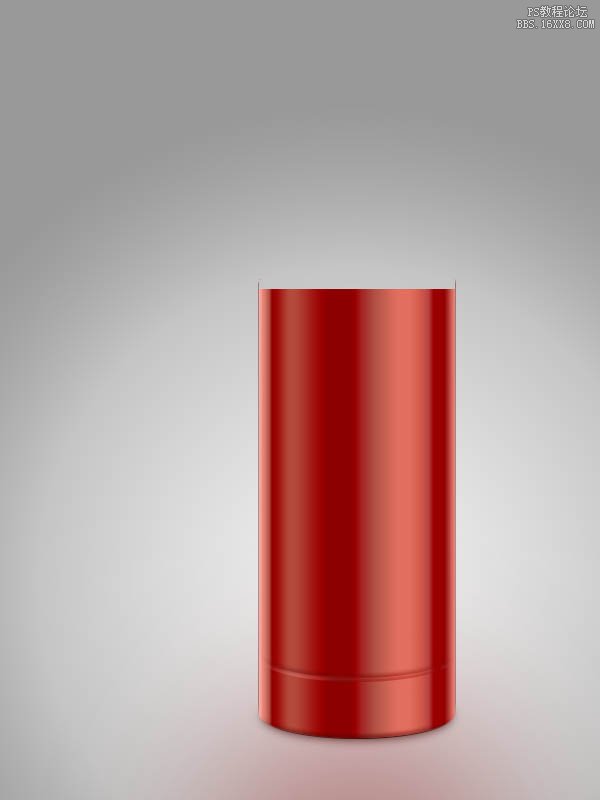
4、灭火器的瓶体有接缝,做出底部的凹进缝。在底部背景布上打出些红色的反光。
5、准备一些锈迹或斑点素材,和瓶体叠加方式调整下。
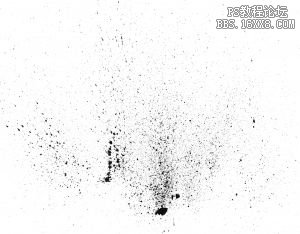
6、调整后更加真实一些。

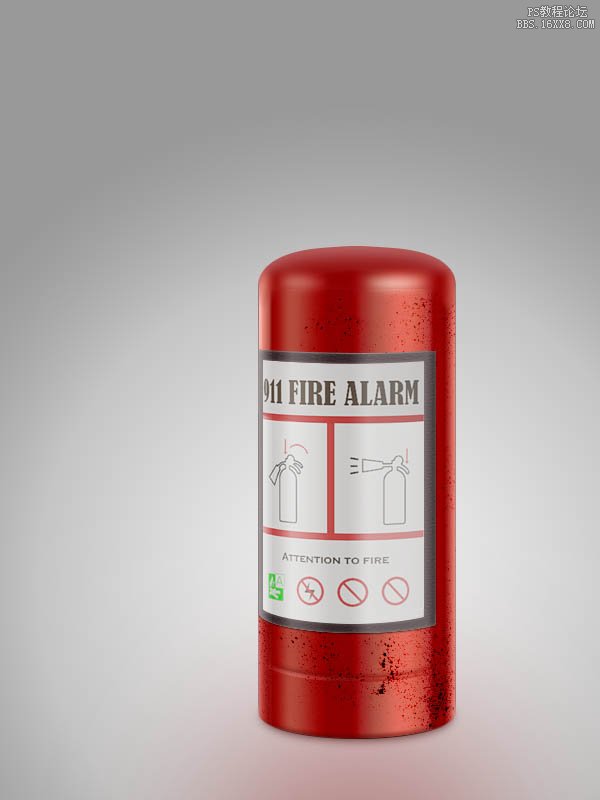
7、将渲染图贴上,调整、光线方向统一、加边框并混合一些噪点接近纸质感。
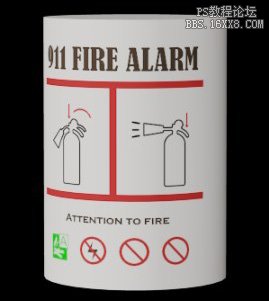
8、调整完善。
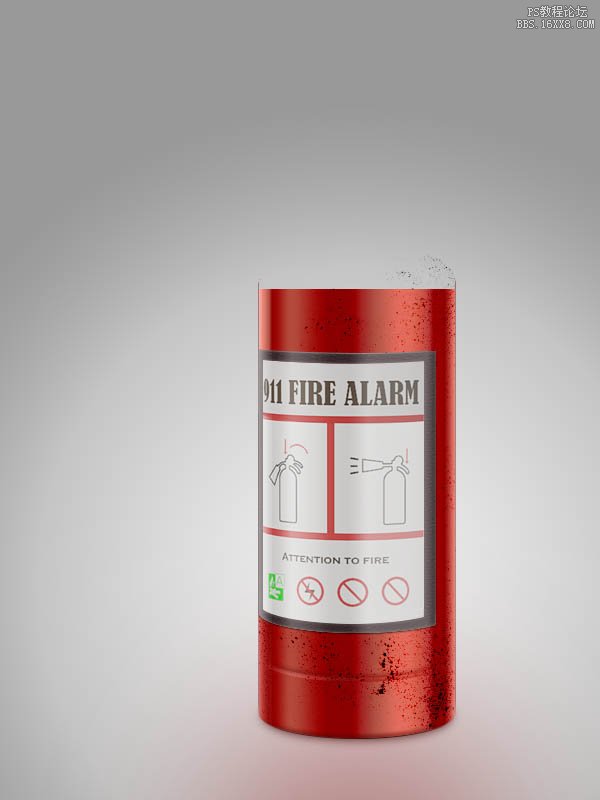
9、添加顶盖,并正好形成额接缝与视平线平行。高光和过渡要体现金属反光的整体性。
10、完善调整后的瓶体。
? ?
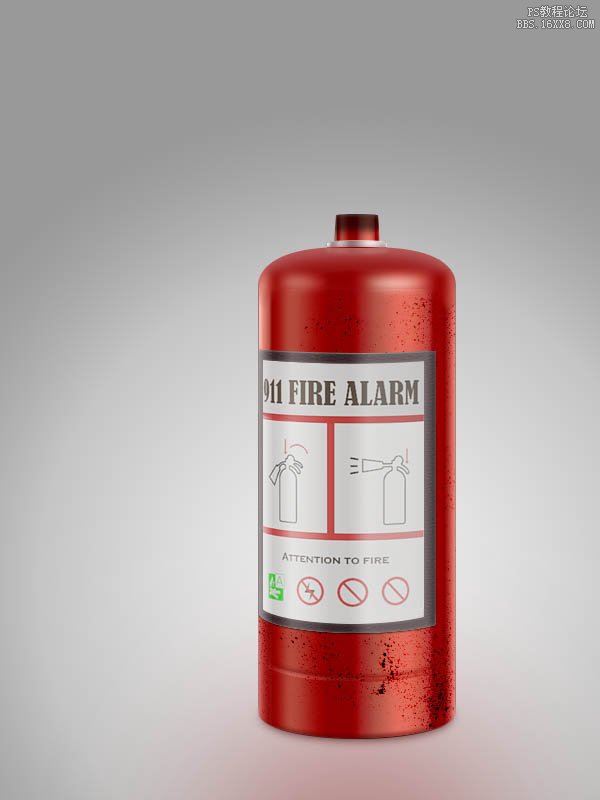
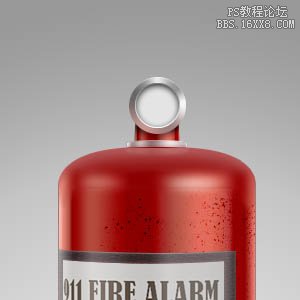
11、添加钢瓶瓶颈,把其在瓶身的反光也虚化模拟出来,质感也随之出来。
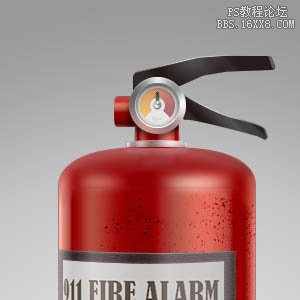
12、气压表细节:金属边框,注意反光红色。
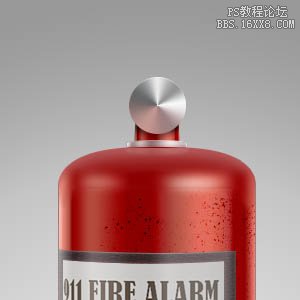
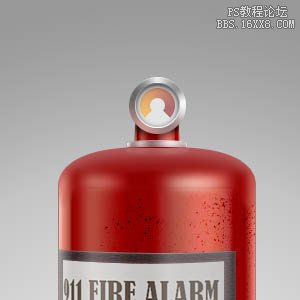
13、气压表细节:金属边框,表盘内部。
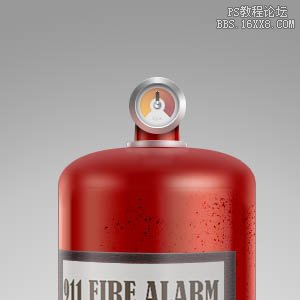
14、气压表细节:表盘内部压力表环。
15、气压表细节:指针、表芯、还有个KPa 的字样。
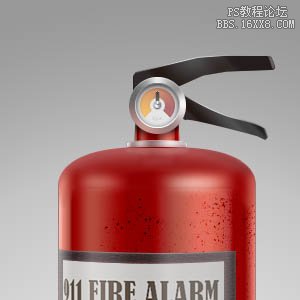
16、用很快的速度完成灭火器释放扳手,高光、表面光。
17、完成左侧出气嘴的细节。
18、首先添加胶皮管,内发光- 暗颜色。
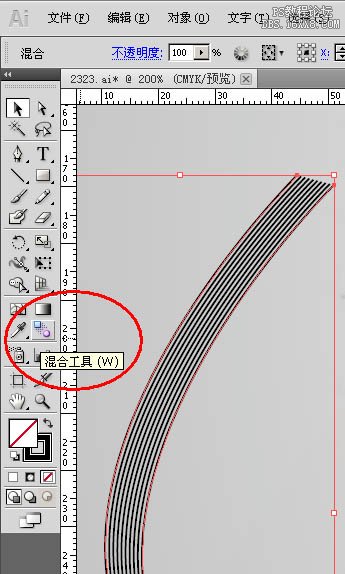
19、在illustrator做好线状纹理,添加胶皮管纹理,和下层ps图层叠加,并添加各种反光。
20、添加胶皮管的两个金属环,再调整,加反光等。
21、illustrator制作喷射罩。这里我故意将皮管和下面讲的喷射喇叭罩分开了。
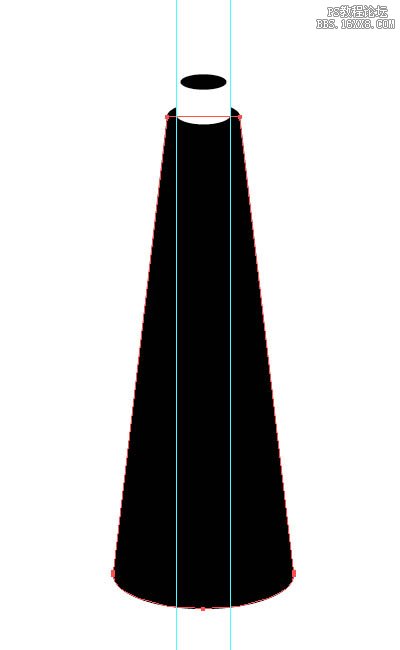
22、illustrator导入到Ps矢量智能对象,添加图层样式- 渐变叠加 - 角度渐变,模拟反光和塑料质感。
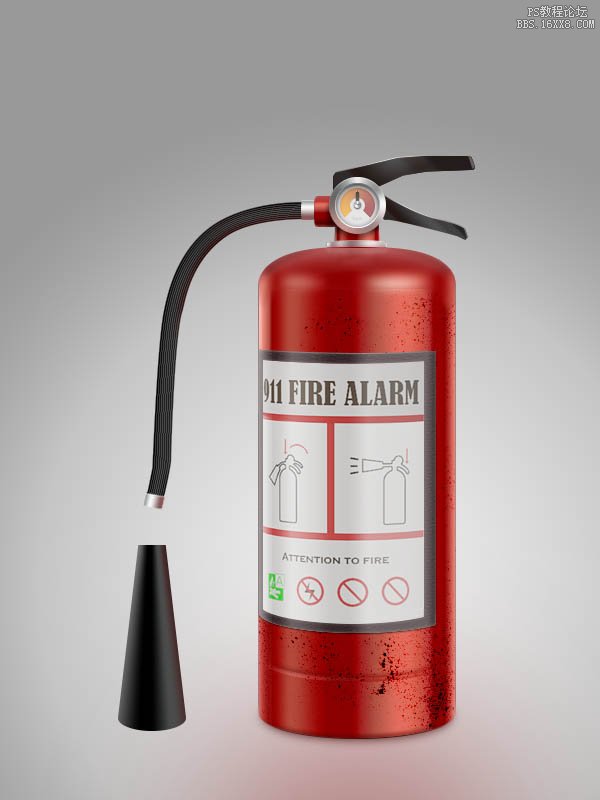
23、添加阴影、封顶、高光。

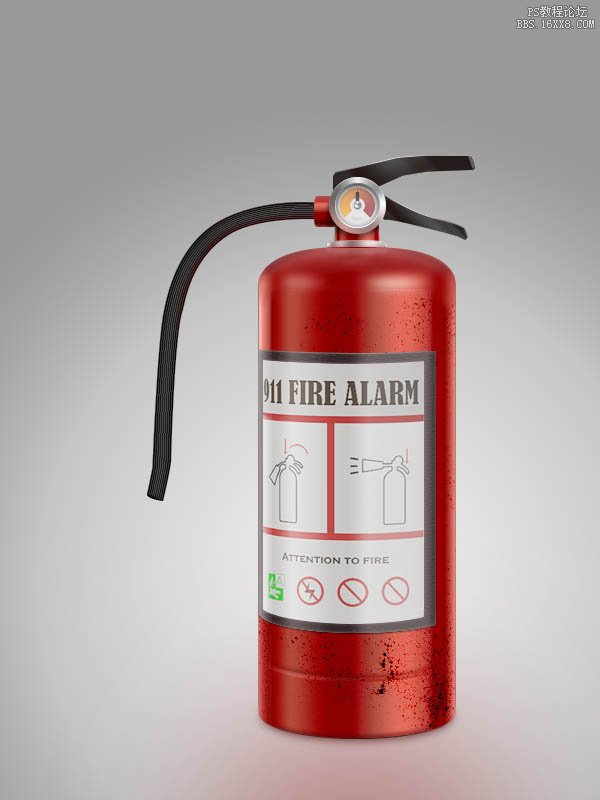
制作螺纹金属套环、添加反光等,整体调整,完成最终效果。
教程编号:113081 作者:Nkfm3a 出处:站酷 | 


 狗仔卡
狗仔卡 发表于 2013-7-4 01:28:15
 提升卡
提升卡 置顶卡
置顶卡 沉默卡
沉默卡 喧嚣卡
喧嚣卡 变色卡
变色卡 千斤顶
千斤顶 显身卡
显身卡 发表于 2013-7-6 11:44:09